
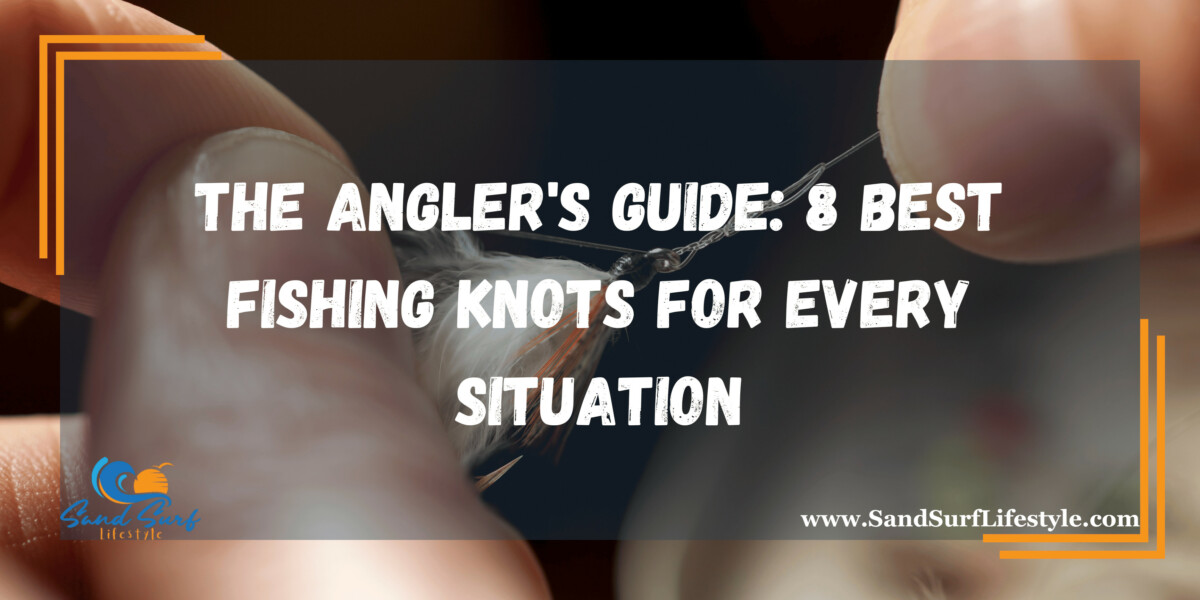
When it comes to fishing, the importance of a strong and reliable knot cannot be overstated. A well-tied knot can be the difference between landing that trophy fish or watching it slip away. With so many different fishing knots to choose from, it can be overwhelming to know which ones to master.
1. The Improved Clinch Knot: A Universal Favorite

The Improved Clinch Knot, widely regarded as a cornerstone in the arsenal of any angler, holds its reputation for a reason. This knot offers a harmonious blend of versatility, simplicity, and sheer strength, making it an indispensable tool in the world of fishing. Its primary purpose is to secure hooks, lures, or swivels to your fishing line with unwavering reliability.
Tying the Improved Clinch Knot is a straightforward process that anglers of all skill levels can master. Begin by threading your fishing line through the eye of your hook, ensuring that you leave a sufficient tag end for the final steps. Next, make several wraps around the standing line, forming a series of coils near the eye of the hook. These wraps secure your tackle firmly in place. Once the wraps are complete, pass the tag end back through the small loop created near the hook’s eye. Then, with a gentle yet firm tug on both ends of the line, tighten the knot securely. Finally, trim the excess tag end, leaving you with a tidy, secure, and dependable Improved Clinch Knot.
The Improved Clinch Knot is a trusted companion for anglers, whether they are just starting their fishing journey or have decades of experience under their belt. Its ease of tying and robustness make it a reliable choice in various fishing situations, ensuring that your tackle stays firmly attached to the line when it matters most.
To learn how to tie a fishing hook, check out this article.
2. Palomar Knot: Simplicity Meets Strength
The Palomar Knot stands out in the world of fishing knots for its elegant simplicity and outstanding strength. It has garnered a reputation as one of the most reliable knots, suitable for both braided and monofilament lines. Anglers appreciate it for its ability to maintain its integrity when tackling a wide range of fish species and conditions.
Tying the Palomar Knot is a breeze. Begin by doubling your fishing line, creating a loop at the end. Pass this loop through the eye of the hook, ensuring that it dangles freely. Next, tie a straightforward overhand knot using the doubled line, leaving a second loop intact. Now, take the hook and pass it through this second loop. Before you tighten the knot, don’t forget to moisten it with saliva or water to prevent friction-induced damage. Finally, grasp both ends of the line and pull them simultaneously to secure the knot firmly. Trim the excess line, and you’re left with a perfectly executed Palomar Knot.
3. Uni Knot: Versatility in Action
The Uni Knot, also known as the Duncan Loop, is a chameleon among fishing knots, thanks to its remarkable versatility. Anglers treasure this knot for its adaptability across various fishing situations. Whether you’re attaching hooks, swivels, or lures to your fishing line, the Uni Knot proves its worth repeatedly.
Tying the Uni Knot is a straightforward process, making it accessible to anglers of all levels of experience. Start by running the fishing line through the eye of your hook, ensuring that you leave enough tag end for the knot-tying process. Next, create a loop with the tag end and wrap it around both the standing line and the loop itself. This process, repeated 4-6 times, forms a series of wraps that lock your tackle securely in place. After these wraps, pass the tag end through the loop you initially created. Before tightening the knot, moisten it with water or saliva to minimize friction. Finally, pull both ends of the line in opposite directions to cinch the knot tightly, and trim the excess tag end.
The Uni Knot’s adaptability is its greatest asset. Whether you’re casting for bass in freshwater or trolling for tuna in saltwater, this knot maintains its reliability. Its ease of tying and dependable performance make the Uni Knot an invaluable addition to your knot repertoire, ensuring you’re well-prepared for any fishing adventure that comes your way.
4. Double Uni Knot: Joining Lines with Confidence
In the world of fishing, there are moments when you need to connect two lines seamlessly, whether it’s to attach a leader or extend your line. During such times, the Double Uni Knot emerges as the trusted choice for this essential task. This knot is celebrated for its reliability and ease of tying.
To create the Double Uni Knot, begin by overlapping the two lines you intend to join. Then, take the first line and create a loop with it. Pass the tag end of the second line through this loop, ensuring a snug fit. Next, wrap the tag end of the second line around both lines and the loop itself. Repeat this process 4-6 times, ensuring that the wraps are snug and even.
Now, it’s time to repeat this process with the first line. Wrap it around the tag end of the second line, matching the number of wraps you made earlier. As you approach the end, moisten the knot with saliva or water to reduce friction and ensure a smooth tightening process. Pull both ends of the lines in opposite directions to cinch the knot securely. Finally, trim the excess tag ends, leaving you with a well-executed Double Uni Knot.
The beauty of the Double Uni Knot lies in its ability to provide a secure connection between lines, even when they vary in diameter or composition. Whether you’re attaching a leader to your mainline or creating a more extended line for specific fishing conditions, this knot ensures you can do it confidently and effectively.
5. Loop Knot: Enhancing Lure Action
For anglers who relish the use of artificial lures, the Loop Knot is a well-guarded secret weapon in their tackle box. This knot possesses the remarkable ability to elevate your lure’s performance by allowing it to move freely in the water, ultimately making it more enticing to fish. The Loop Knot is especially valuable when you’re seeking that extra edge to attract a strike.
Tying the Loop Knot is a relatively simple process. It starts by creating a small loop in your fishing line near the eye of the lure. This loop should be large enough to allow your lure to move around freely. Then, pass the tag end of the line through this loop 5-7 times, depending on your preference and the size of your lure.
After these wraps, take the tag end and pass it back through the loop itself, ensuring that it’s positioned correctly. Before you proceed to tighten the knot, moisten it with saliva or water to minimize friction and ensure a smooth cinching process. As you pull both ends of the line in opposite directions, the knot will tighten securely, leaving the loop-free to move around. Finally, trim any excess line, and you’re left with a perfectly executed Loop Knot.
The Loop Knot’s magic lies in its capacity to provide your lure with unparalleled freedom of movement, replicating the erratic and enticing motions of prey. This increased action often translates into more strikes and a higher likelihood of landing your target fish. Whether you’re casting for bass, trout, or any other species that goes for artificial lures, the Loop Knot is your ticket to enhancing their irresistible appeal in the water.
6. Blood Knot: Connecting Lines Seamlessly

The Blood Knot is the knot of choice when you need to seamlessly join two lines of similar diameter, whether you’re constructing a leader or mending a broken line. Its reputation as a smooth and strong connection makes it a favorite among anglers, particularly those who value precision in their setups.
To tie the Blood Knot, start by overlapping the two lines you intend to join. Then, twist them around each other 4-6 times, depending on your preference and the line’s diameter. This process creates a series of neat wraps that lock the lines together securely. Following the wraps, pass each tag end through the loop created between the lines. It’s essential to moisten the knot at this stage to minimize friction, making the tightening process smooth.
Now comes the critical part: pull both standing lines in opposite directions to cinch the knot tightly. The result is a seamless connection that maintains the strength and smoothness of the line. One notable advantage of the Blood Knot is its slim profile, which ensures it won’t snag on guides or alarm wary fish. After the knot is secure, trim the excess tag ends, and you’re left with a meticulously executed Blood Knot.
7. Albright Knot: Taming Line-to-Line Connections
When the need arises to unite lines of differing diameters, such as connecting a leader to your mainline, the Albright Knot steps forward as the trusted solution. This knot excels in preserving the integrity of the line transition, ensuring both strength and smoothness in the connection.
Tying the Albright Knot begins by threading the thicker line through the loop of the thinner line. This initial step sets the stage for the knot’s unique construction. Next, wrap the tag end of the thicker line back over itself and the thinner line, creating several wraps. The precise number of wraps may vary depending on the lines and your preference, but 4-6 wraps are common. Each wrap forms a tight and secure connection between the two lines.
Once the wraps are complete, pass the tag end of the thicker line back through the loop created initially by threading the thinner line. Before proceeding, it’s essential to moisten the knot with saliva or water to reduce friction during the tightening process.
Now, here’s where the Albright Knot truly shines: pull both ends of the lines in opposite directions, cinching the knot tightly. As the knot takes shape, you’ll notice that it maintains the smoothness and strength of the line transition, making it an ideal choice for delicate presentations or when transitioning from a heavier mainline to a lighter leader.
8. Bimini Twist: Creating a Strong Loop
The Bimini Twist is a knot of exceptional strength and purpose. Anglers frequently turn to it when they require a powerful loop in their line, especially in the realm of big game fishing where a secure connection to a leader is paramount.
Creating the Bimini Twist begins by forming a loop in your line. This loop will serve as the foundation for the knot’s unique structure. The key to the Bimini Twist’s strength lies in its twists. Proceed to twist the loop multiple times, creating a tight spiral that travels down the loop.
Now, take the loop and pass it through the spiral you’ve created, positioning it carefully to ensure a secure hold. With one hand, hold both ends of the loop and the standing line, keeping tension on all parts of the loop. This step is crucial for achieving the knot’s full strength potential.
With tension maintained, begin tightening the knot while ensuring that the wraps stay neatly aligned. As the knot cinches, you’ll notice that it forms a robust and unyielding loop that can withstand substantial pressure. This strength is particularly valuable when battling powerful fish species that can exert tremendous force.
Once the Bimini Twist is firmly in place, trim any excess line, leaving you with a perfectly executed knot. The Bimini Twist’s exceptional loop strength makes it an indispensable tool for anglers targeting formidable adversaries in the big game fishing arena, ensuring that the connection to the leader remains unbreakable.
To learn about choosing the best fishing rod, check out this article.
Conclusion
Whether you’re a novice angler or a seasoned pro, mastering these eight essential fishing knots will significantly enhance your fishing game. Each knot serves a specific purpose, from securing hooks and lures to joining lines and creating strong loops. Practice tying these knots until you can do them with your eyes closed, and you’ll be well-prepared for any fishing adventure that comes your way. Remember, the right knot can be the key to landing the catch of a lifetime.
Please note that the contents of this blog are for informational and entertainment purposes only and should not be construed as legal advice. Any action taken based on the information provided in this blog is solely at your own risk. Additionally, all images used in this blog are generated under the CC0 license of Creative Commons, which means they are free to use for any purpose without attribution.