
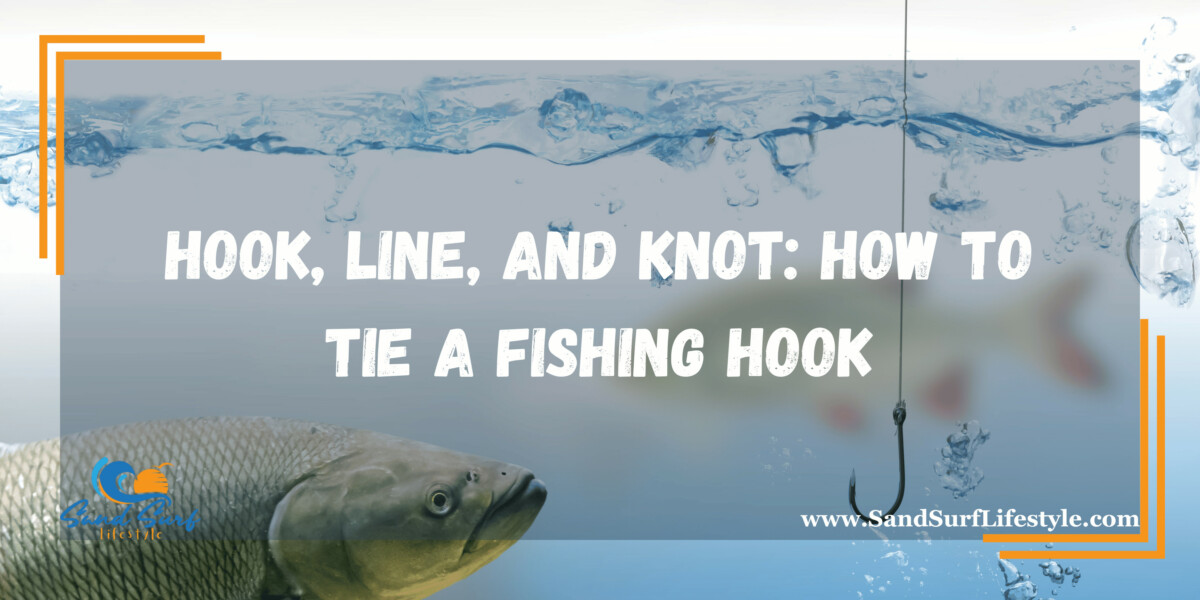
Fishing is not just a hobby; it’s an art form. And at the heart of this art lies a fundamental skill that every angler must master – tying a fishing hook. Whether you’re a novice looking to catch your first fish or an experienced angler aiming to enhance your technique, understanding the intricacies of hook tying is crucial.
Understanding Hook Types

Before delving into the art of hook tying, it’s essential to familiarize yourself with the various types of fishing hooks available. Hooks come in an array of shapes, sizes, and designs, each tailored to specific fishing situations. The most common hook types include:
1. J-Hooks
J-hooks are a versatile and popular choice among anglers due to their distinctive J-shaped design. Their versatility makes them suitable for a wide range of fishing applications, from freshwater to saltwater. They are highly effective in both bait fishing and lure fishing. The J-shape provides a secure hookset, increasing the chances of a successful catch. These hooks are available in various sizes, allowing anglers to target different species, and they are a reliable go-to option for many fishing enthusiasts.
2. Circle Hooks
Circle hooks are known for their unique circular shape and are highly favored for catch-and-release fishing. This design reduces the risk of deep hooking and minimizes harm to the fish. Circle hooks are designed to hook the fish in the corner of the mouth, making it easier to release them unharmed. They are especially popular in saltwater fishing for species like sharks, tarpon, and billfish. Their ethical and effective design has made them a staple in conservation-minded angling practices.
3. Treble Hooks
Treble hooks are distinct for their three points, making them an excellent choice for anglers looking to secure live bait or target fish like bass and trout. The multiple points increase the chances of hooking a fish when it strikes the bait or lure. Treble hooks are often used with artificial lures, such as crankbaits and spoons, where a higher hooking rate can make a significant difference in landing fish. However, anglers should be cautious when handling treble hooks to avoid accidents and ensure proper catch-and-release practices.
4. Barbless Hooks
Barbless hooks are designed with a flattened or reduced barb, which serves the primary purpose of minimizing harm to the fish. They are particularly popular in fly-fishing and catch-and-release practices, where the goal is to preserve fish populations and ensure their well-being. Barbless hooks make hook removal easier, reducing stress and injury to the fish during release. While they may require a bit more finesse in maintaining tension on the line, their ethical benefits have made them a preferred choice for conservation-conscious anglers.
5. Bait Holder Hooks
Bait holder hooks, as the name suggests, come equipped with small barbs or projections on the shank. These features are designed to help secure bait firmly in place, preventing it from sliding or falling off during casting and retrieval. Bait holder hooks are popular for anglers using natural bait like worms, minnows, or cut bait. The barbs grip the bait securely, increasing the chances of attracting fish and ensuring that the bait remains enticingly presented on the hook. This type of hook is especially effective when fishing for species that are known to be picky eaters or nibblers.
To learn about choosing the best fishing rod, check out this article.
Step-By-Step Process Of Tying A Fishing Hook Effectively
Step 1: Gather Your Materials
Before embarking on the process of tying a fishing hook, it’s imperative to gather all the essential materials to ensure a successful and hassle-free fishing experience.
- Fishing Line: The fishing line is your lifeline to the fish. Selecting the appropriate fishing line is crucial as it determines the strength, visibility, and stretch of your line. Consider the type of fish you’re targeting and the fishing conditions. Lighter lines are suitable for smaller fish and finesse techniques, while heavier lines are needed for larger, more powerful species or when fishing in rough waters.
- Fishing Hook: Choosing the right hook size and type is essential. The hook size should match the size of the bait you intend to use and the type of fish you’re pursuing. Different hooks are designed for specific fishing situations, such as J-hooks for versatility, circle hooks for catch-and-release, or treble hooks for securing live bait.
- Bait: The type of bait you use depends on your target species and fishing method. Prepare your bait in advance, whether it’s live bait like worms or minnows or artificial lures like soft plastics or crankbaits. Ensuring your bait is ready ensures you can efficiently proceed with the hook-tying process.
- Scissors or Line Cutter: You’ll need scissors or a line cutter to trim excess line cleanly after tying the knot. This step is vital for preventing tangles and ensuring the knot’s security.
- Knot-Tying Tools (Optional): While not essential, knot-tying tools like knot-tying pliers can be handy for anglers seeking added precision. These tools assist in creating neat and secure knots, especially when tying intricate knots or using lines that are challenging to handle.
Having these materials readily available before starting the hook-tying process streamlines your fishing preparation, increases your chances of success, and allows you to focus on the art of tying the perfect knot for your specific angling adventure.
Step 2: Choose the Appropriate Knot
Selecting the right knot is pivotal in ensuring your hook remains securely attached to the fishing line. The most common and reliable knots for tying fishing hooks include:
- Improved Clinch Knot: The Improved Clinch Knot is a classic and reliable choice for attaching hooks to monofilament or fluorocarbon lines. Its strength and simplicity make it a preferred knot among anglers. To tie it, you thread the line through the hook eye, make multiple wraps around the standing line, and then pass the tag end through the loop created near the hook eye. After tightening and trimming the excess, you have a secure connection. This knot’s versatility and ease of tying make it suitable for a wide range of fishing applications, ensuring that your hook remains firmly attached to your line.
- Palomar Knot: The Palomar Knot is celebrated for its simplicity and remarkable strength. It’s a versatile knot suitable for various hook sizes and line types, making it a favorite among anglers. To tie it, you double the line, pass it through the hook eye, create an overhand knot, and then pass the hook through the loop formed. The knot is then tightened, and the excess line is trimmed. Its ease of tying, combined with its impressive knot strength, ensures that your hook remains securely fastened to the line, providing confidence when angling for a variety of fish species.
- Loop Knot: The Loop Knot is a go-to choice for anglers looking to enhance the natural movement of lures, particularly in saltwater fishing. This knot allows the lure to move more freely in the water, mimicking the motion of prey. To tie it, you form a loop in the line, pass the tag end through the loop and around the standing line, and then thread it back through the loop. After tightening the knot, you’re left with a loop that provides greater mobility to your lure. This makes the Loop Knot ideal for presentations where lifelike movement is critical, improving your chances of enticing saltwater game fish.
- Trilene Knot: The Trilene Knot is a reliable choice, especially effective for braided lines. It offers exceptional strength and durability, making it well-suited for various fishing conditions. To tie it, you thread the line through the hook eye, wrap it around the standing line multiple times, and pass the tag end through a loop near the hook eye. After cinching and trimming the excess line, you have a robust connection. This knot’s ability to maintain its integrity, even with braided lines known for their strength, ensures that your hook remains securely attached when targeting powerful fish species.
- San Diego Jam Knot: The San Diego Jam Knot is a preferred choice for attaching hooks to heavy lines and is particularly popular among anglers targeting large game fish. Its design provides exceptional knot strength and reliability. To tie it, you double the line and pass it through the hook eye. Then, make several wraps around both lines and thread the tag end through the loop formed. After cinching and trimming, you have a robust knot capable of withstanding the immense forces generated by large game fish. Its durability and knot security make it a valuable asset for landing trophy-sized catches in various fishing environments.
Step 3: Thread the Line Through the Eye
Threading the line through the eye of the hook is a fundamental step in the process of tying a fishing hook. It’s essential to start with the free end of your fishing line, ensuring that you have an adequate length, typically ranging from 6 to 8 inches. This initial thread-through ensures that you have enough lines to work with during the knot-tying process. Having this excess line allows for better control and precision when creating the knot. It also ensures that the knot is securely fastened to the hook’s eye, reducing the risk of slippage or knot failure during the fishing experience. Proper threading sets the foundation for the subsequent steps, making the entire process more manageable and increasing the likelihood of tying a secure and effective knot.
Step 4: Create a Loop
After threading the line through the eye of the hook, the next step is to create a loop. This involves doubling the line back onto itself, effectively folding it in half, while leaving the hook hanging from the loop you’ve formed. The loop serves as a crucial component in many fishing knots, as it provides the structure and foundation for securing the hook to the line. By creating a loop, you’re setting the stage for the knot-tying process that follows. This loop ensures that there is sufficient material to wrap around the hook and create the necessary wraps and turns to form a secure connection. A properly formed loop is essential for a knot that holds up under the pressure of catching fish, ensuring a strong and reliable attachment between the hook and the line.
Step 5: Begin the Knot-Tying Process
As you progress in tying a fishing hook, the fifth step is crucial for creating the foundation of a secure knot. To initiate the knot-tying process, hold the loop and the mainline (standing line) together between your thumb and index finger. With the hook hanging freely beneath the loop, your goal is to pass the loop over the hook shank.
This simple yet pivotal maneuver establishes the initial connection between the line and the hook. By guiding the loop over the hook, you are setting the stage for the subsequent steps where the wraps and turns will secure the hook firmly to the line. This initial positioning ensures that the knot takes shape around the hook’s eye and shank, providing the essential anchor point for your fishing setup.
Maintain a firm grip on both the loop and the line to prevent any unintended slippage or misalignment during this step. This fundamental action marks the beginning of creating a knot that will withstand the rigors of casting, retrieving, and landing fish, making it a pivotal moment in the process of tying a fishing hook securely and effectively.
Step 6: Wrap the Line Around the Hook
Once you’ve created the loop in the previous step, the next crucial action is to wrap the free end of the fishing line around the hook shank and the loop. This wrapping process is pivotal as it forms the core structure of the knot, ensuring a secure connection between the hook and the line. It’s advisable to complete several wraps, typically a minimum of five or more, depending on the specific knot you’ve chosen. The number of wraps can vary depending on the knot’s complexity and the line’s thickness. More wraps often translate to a stronger and more reliable knot. Ensuring that the wraps are snug and evenly spaced is essential for the knot’s overall integrity and strength.
Step 7: Thread the Line Through the Loop
After wrapping the line around the hook shank and the loop created in the previous steps, the next move is to thread the free end of the line through the loop. This step further reinforces the knot’s structure and prepares it for tightening. By threading the line through the loop, you effectively create a connection point that will allow for the knot to cinch down securely on the hook. This threading action sets the stage for the final tightening process, ensuring that the wraps and turns you’ve created will hold firmly in place. Properly threading the line through the loop is a critical step in achieving a knot that can withstand the forces of casting, retrieval, and fish fighting.
Step 8: Tighten the Knot
Once you’ve threaded the line through the loop, it’s time to carefully pull both ends of the line to tighten the knot snugly around the hook. This is a crucial step as it locks the wraps and turns in place, creating a secure and reliable connection. Ensuring that the wraps are neat and evenly spaced is essential during this tightening process, as any irregularities or loose sections can compromise the knot’s strength. Maintaining even tension on both ends of the line as you tighten the knot is key to achieving a well-formed, robust knot. Once the knot is snug and secure, trim any excess line closely to the knot, leaving a small tag end to prevent slippage and ensure the knot’s durability throughout your fishing adventure.
Step 9: Trim Excess Line
Using a pair of scissors or a line cutter, carefully trim the excess line close to the knot. Leave a small tag end, typically around a quarter of an inch, to prevent the knot from slipping. This tag end also helps maintain the knot’s integrity and ensures it remains firmly secured during your fishing expedition. Be precise while trimming, as leaving too long of a tag end can lead to tangling or interference with the lure or bait presentation.
Step 10: Test the Knot
Before casting your line into the water, it’s essential to test the knot’s security. Gently pull on the line to ensure that the knot is holding firm without slipping or unraveling. The knot should maintain its integrity even under moderate tension. If the knot doesn’t pass this test or exhibits any signs of weakness, such as slipping or uneven wraps, it’s advisable to cut it off and start the tying process anew. A secure knot is the linchpin of a successful fishing expedition, so thorough testing is crucial.
Step 11: Attach Bait (If Necessary)
If you intend to use live or artificial bait, this is the step where you attach it to the hook according to your chosen fishing technique. The specific bait attachment method can vary based on the type of bait and the species you’re targeting. This step may involve threading a worm onto the hook, securing a lure with hooks or split rings, or placing a piece of baitfish on the hook. Proper bait attachment ensures that your presentation is enticing and attractive to the fish you’re aiming to catch.
Step 12: Prepare for Casting
With your fishing hook securely tied and baited, you’re now ready to prepare for casting. Ensure that your fishing rod and reel are set up appropriately for your chosen fishing technique. Follow proper casting techniques, considering factors such as wind direction, casting angle, and target location, to maximize your chances of a successful catch. Casting with precision and accuracy is essential for presenting your bait or lure effectively to the fish and increasing your chances of a rewarding fishing experience.
To learn about fishing license expenses, check out this article.
Conclusion
Tying a fishing hook is a fundamental skill that every angler must master. With the right knowledge of hook types, knot-tying techniques, and some practice, you can ensure that your hooks are securely fastened and ready for action. Remember that the key to successful fishing lies not only in tying a good knot but also in understanding the habits and preferences of the fish you’re targeting. So, get out there, practice your skills, and enjoy the art of fishing.
Please note that the contents of this blog are for informational and entertainment purposes only and should not be construed as legal advice. Any action taken based on the information provided in this blog is solely at your own risk. Additionally, all images used in this blog are generated under the CC0 license of Creative Commons, which means they are free to use for any purpose without attribution.